

A.YOUNGoalie13
-
Posts
1,354 -
Joined
-
Last visited
-
Days Won
21
Content Type
Profiles
Forums
Store
Gallery
Blogs
Events
Downloads
Posts posted by A.YOUNGoalie13
-
-
4 hours ago, Colander said:
Some questions:
First: You said you “the guy” has done lots of wraps for you – has he done OTNY’s before? Per @johncho's comment there could be all sorts of reactions happening. Did you discuss with OTNY first?
Second: Is that really a wrap? It appears someone used tape or layers or some sort of adhesive material. I would assume most commercial wraps have been designed (and tested) not to react with mask/helmet material. If someone is using generic materials, there’s no guarantee there won’t be issues.
Third: There seems to be some cracks propagating from the cage screw hole- not sure if that's a result or a cause of the issue.
Fourth: Have you discussed this with OTNY? I am sure they would be interested if for no other reason than to ensure the safety of their clients past and present.
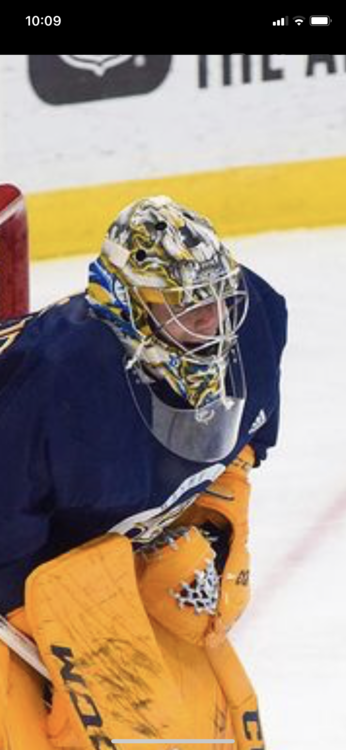
Its vinyl but he has no problem with bauer, ccm, sportsmask, or Victory
-
30 minutes ago, johncho said:
I'm not defending OTNY, but it seems like you put a wrap on, was it a safe wrap to use on the mask's material?
I would imagine that some types of adhesives found on the wrap/stickers could potentially react with the mask negatively.
Yeah the wrap on it was perfectly safe, the guy that did it for me has done many masks over the years and has had no problems. Also I feel like if had reacted with the mask, this would’ve happened all over the mask wherever I got hit.
-
After 3 cages in under a year, and now this, I am done with otny. The only way I wear one of their masks again is if they replace this one for free. No mask should ever do this.


-
9 hours ago, TheGoalNet said:
Are you playing games out of state? I thought IL HS hockey was a no go right now?
The pictures are from a few months ago but we were playing in Wisconsin
-
 2
2
-
-
1 hour ago, creasecollector said:
In this pic, you look like a clone of Jonathan Quick's lean. Nice job!
The lean, the Vaughn pve pads, the mask, you get the idea!
-
1
-
-
Finally have pictures of my custom gloves and mask wrapped


-
6
-
-
Saros with a new mask I believe
-
1
-
-
Since we don’t have an official 2020-21 season yet I guess this would still fall into this forums category... Demko with some Brians retros for his offseason training. Note no airpac logos

-
3
-
-
Proskategoal is having a massive sale today. Some skates are 50% off and if you buy leg pads for full price you get the matching gloves for free.
-
Anyone have a good frankenchesty? I guess thats kind of the same as beefing up a chesty. I want to try a vaughn body with brians arms. Vaughn arms suck
-
1
-
-
On 8/1/2020 at 10:29 PM, dualshowman said:
As I often find myself doing, I will ‘take a break’ from normal chores and tasks around the house that, frankly, require all of the attention - Buy a house that requires work if you want the thrill of a lifetime… a lifetime which feels like it’s getting shorter with each successive ‘project’. Take away consistent hockey, add in being considered an essential worker in an area of the country that appears to desire contracting a virus that we cannot inoculate against, all while attempting to help support a woman who is one of the amazing front-line healthcare workers that specifically takes care of children, and it would seem that the Venn diagram of physical health, mental health and scheduling would not be so accommodating of such a potentially stupid and futile project. So, with sore and unsteady hands, and limited skills and tools, I ‘re-graffic'd’ some gloves, blockers and a set of pads using heat transfer vinyl (HTV) as @bunnyman666 has alluded to and outlined prior (search “HTV” and you will find plenty). Also, I enjoy writing every now and again, so…
The Goal
Leg Pads - Vaughn Ventus LT98, “Detroit” colorway
I despise the tribal graphic variants that Vaughn used for years. Good riddance. These pads, however, are really quite amazing (to me). They were light to begin with, but after removing some straps and other features I will never use, they’re even lighter - probably close to 4 lb. per pad. I’m not really a pad guy, so I could probably be could with whatever is stiff and light, but the graphic on these is brutal. My goal was to cover the red graphic with white HTV. As I was finishing up that task on the first pad, I decided that I would get more ambitious and create a ‘vintage’ graphic with fake knee rolls in black with matching outer rolls. In my head, I’m seeing a set of Ed Belfour’s Brian’s from 1991. I went for “Looks fine from 10 feet way”. I feel I ended up with “Looks good from 2 feet away”. Pleasant surprise.
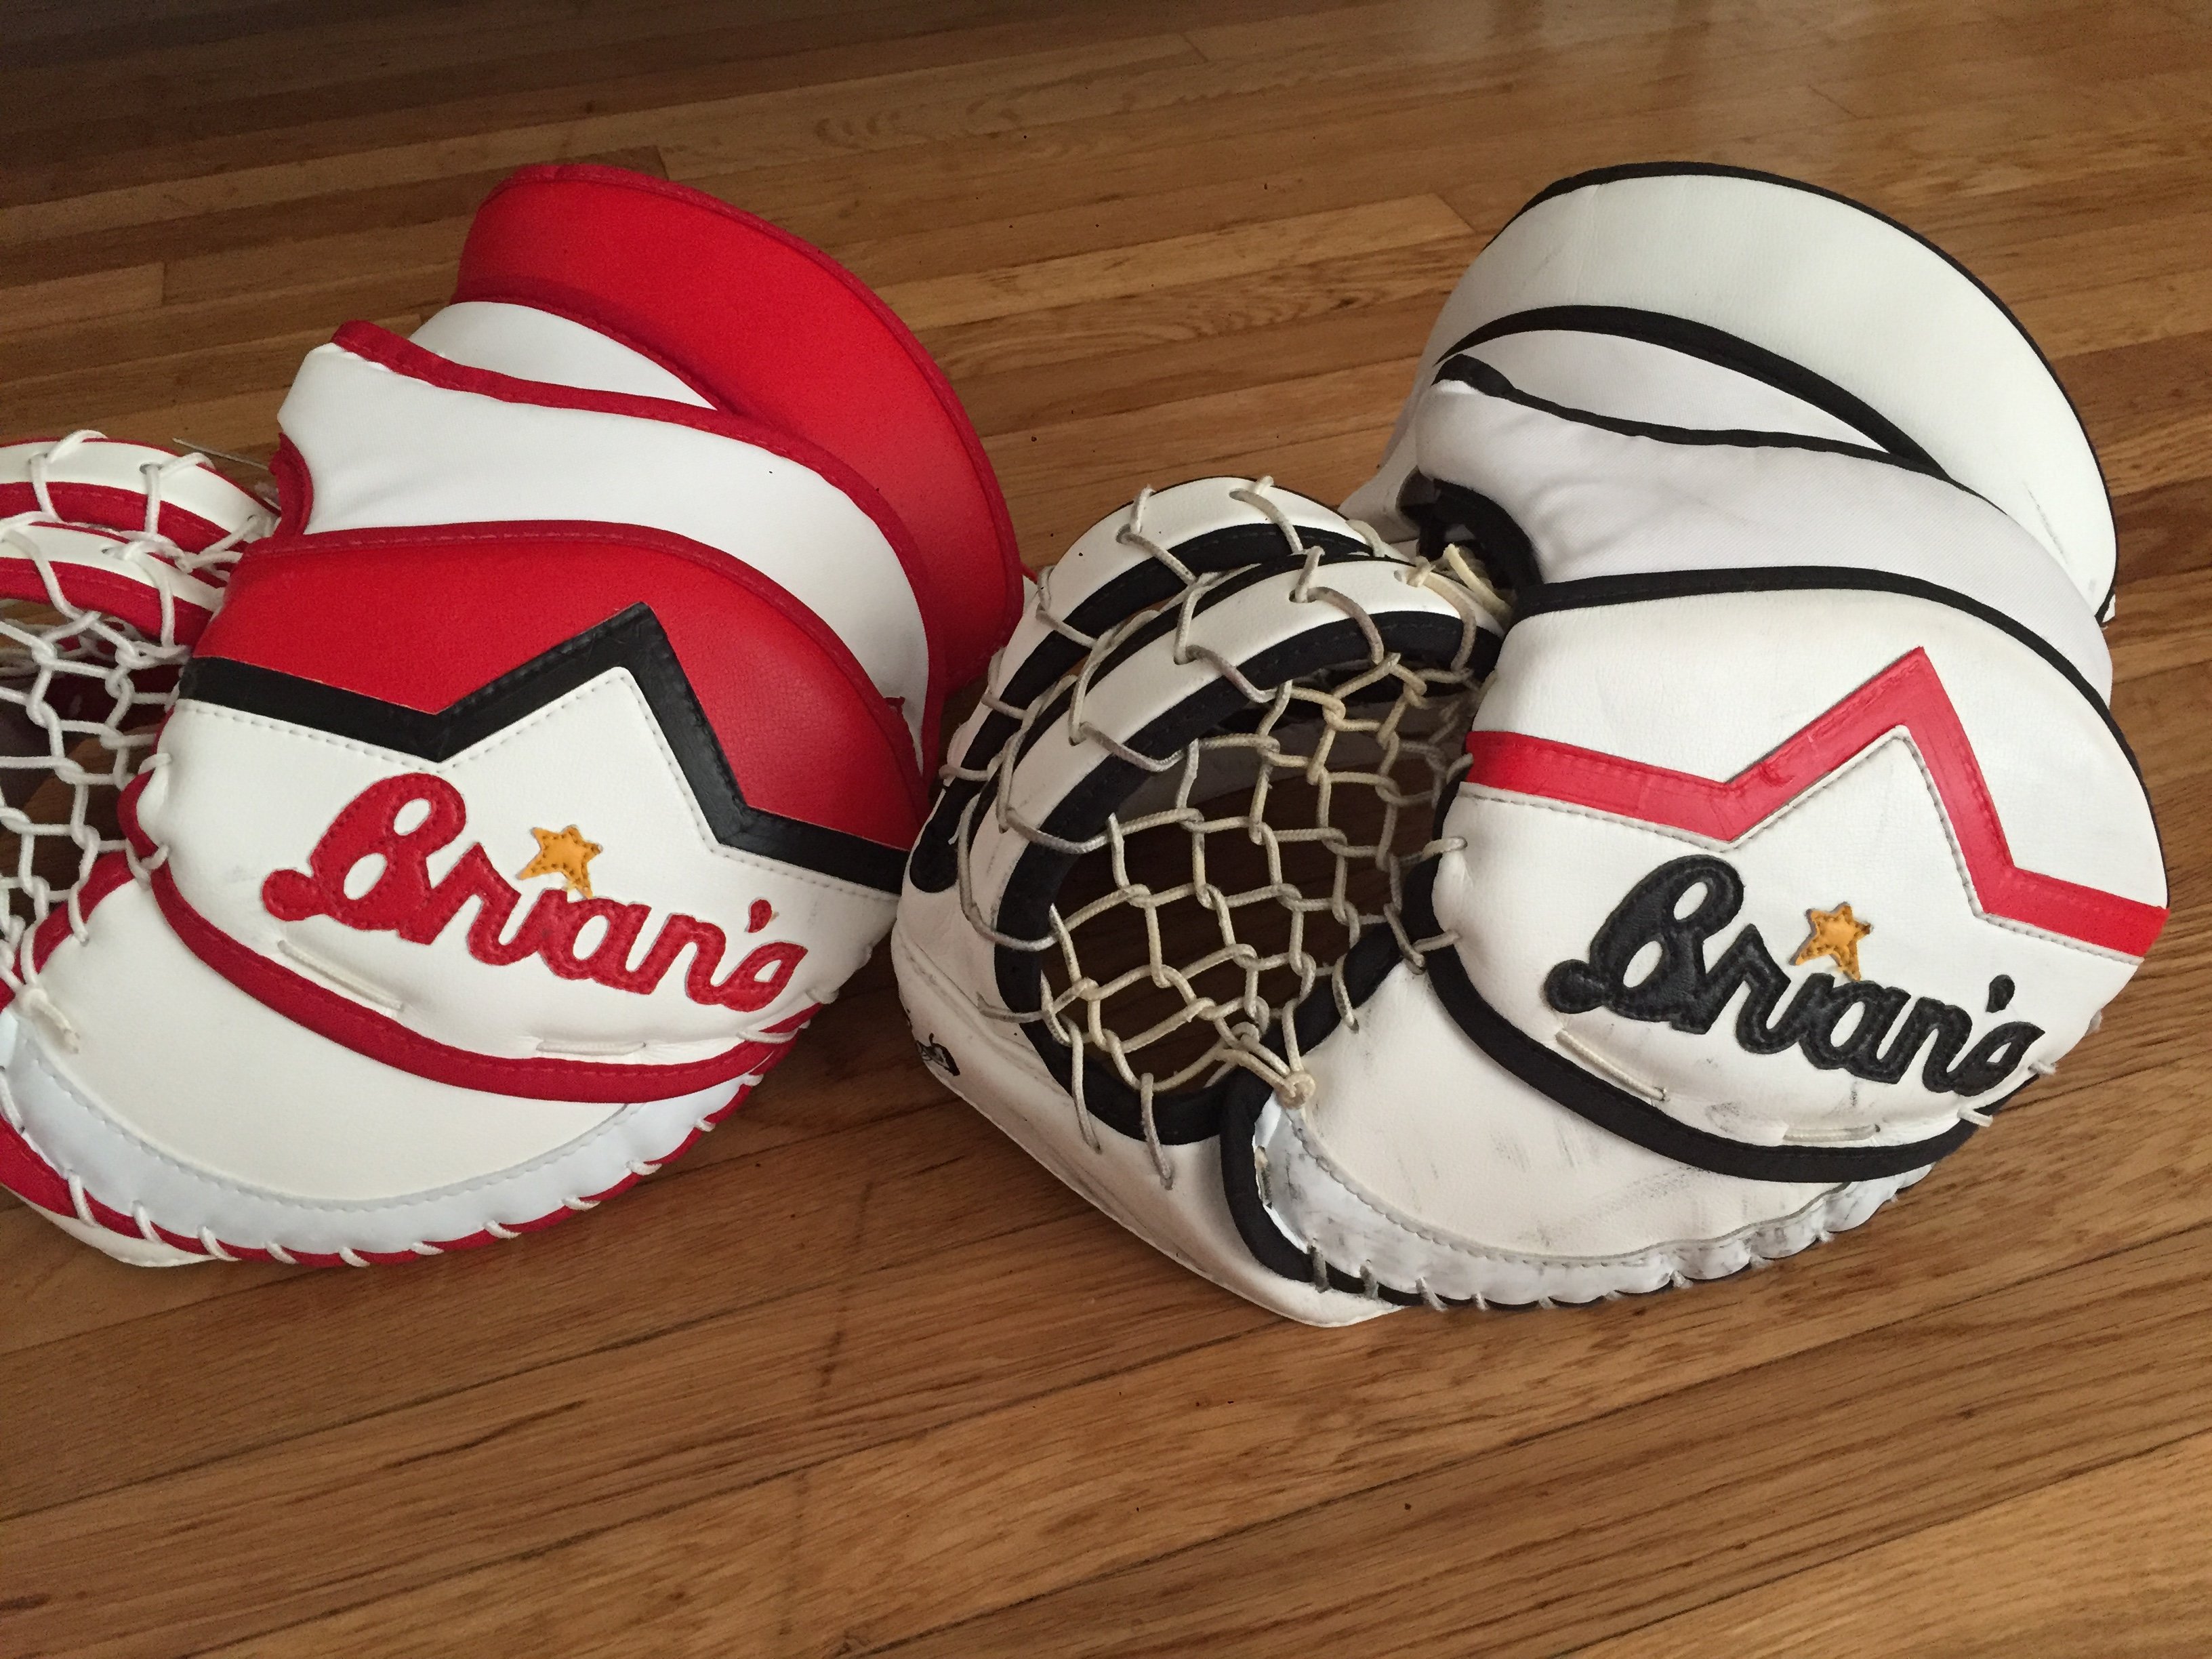
Gloves - Brian’s Heritage, White/Black and “Detroit” colorways
As you will see, there isn’t a drastic change to either glove, but a little seems to go a long way here. Again, the goal was 10 feet. These are also good from about 2 feet away. As an aside, the Gnetik / Heritage gloves have made me officially retire my V1/Kipper-spec/7000/7700 mitts. These gloves were as game-changing for me as non-cowling skates. I grew up wearing Brian’s mitts, so perhaps there’s some nostalgia there.
Blockers - Brain’s Heritage, White/Black and Brian’s Optik White colorways
Another goal of “10 feet”. The Heritage blocker, like the gloves, wasn’t drastic. The Optik blocker, however, was clearly ambitious and a labor of stupidity and pushing the boundaries of my artistic ability, of which I have none. I will likely redo the logo, but not anytime soon. I’ll call the Heritage blocker good from 2 feet and the Optik blocker good from 5 feet, although I’m likely being generous with the latter. The Optik blocker, as I have espoused elsewhere on this wonderful forum, is an incredible piece of gear. I have, in all seriousness, been credited with an assist due to how hot this blocker is. A good enough shot can turn into an outlet pass if the other team isn’t careful.
Materials
HTV
This was perhaps the most straight-forward part of the process. I did the least amount of research and decided that Siser Easyweed Heat Transfer Vinyl was likely the most correct product for the application. I say ‘most correct’ because time and abuse will truly determine whether this project was a success or ‘File Under: You can but should you?’ Anyhow, Siser’s HTV product is kinda incredible when you look at it: It’s essentially a film, it’s extremely flexible over a wide temperature range, and it comes in nearly every color you could desire. It has a heat-activated adhesive that is very strong, but you can remove it with patience and time. I purchase a roll of white, three rolls of black, and a roll of red. That was more than enough what I wanted to accomplish. I purchased these from Michael’s here in the States, but it appears to be available in many markets. Here’s a link for the product (zero affiliation): Siser HTV
Parchment Paper
This will act as a temporary barrier between the iron and the HTV. As I will outline, using this was not always required or necessary.
Tools
Iron
I have a $25 garment iron with multiple heat settings. It is entirely the wrong tool for the job, and it worked smashingly well. It’s really a rare experience where the wrong tool does everything you want it to do. If you don’t believe me, go and use Imperial tools on metric fasteners, then report back here about how happy you are with this decision.
Cutting
I used a small scissor and a single edge razor blade. No self-heal artist mat or any appropriate cutting surface. I could have done much, much better with upgrading these two items alone, but I didn’t.
Measuring
I began this project using a machinist’s ruler and a tailor's tape. I ended the project using neither. Do you see a theme, here?: I’m kinda wingin’ this whole thing. No excuses, but I spend my days at work and working on a house where I’m required to exhibit highly repeatable accuracy. I was not in the mood to give this project that much attention, and while I believe anything worth doing is worth doing right, I needed this to be much more of an artistic release… which is just a b.s. excuse for being lazy and inattentive.
Process
I began by overthinking this whole thing. Here’s the truth: The materials that compose goalie gear are extremely durable, synthetic products that can withstand a wider temperature range than the HTV. Neither the HTV or the materials used in our equipment will likely be exposed to temperatures that will cause permanent damage, especially while on the ice. I started off measuring and cutting pieces of black HTV to be used on the outer roll of the right leg pad, but eventually just started articulating the material and the iron as necessary.
The HTV is adhered to whatever substrate you wish by applying heat for a short amount of time (I used the ‘Wool’ setting and applied this for anywhere from 5 to 15 seconds) to the parchment paper barrier or, as I learned, the high-temperature clear carrier film that is integrated with the cold HTV. Once the HTV is adequately adhered to the substrate, the clear carrier film begins to detach from the HTV on it’s own. This clear carrier film is thick and durable, leaving the HTV cleanly attached. I found that tacking down the HTV with heat applied directly to the clear carrier was a good way of aligning pieces both small and large prior to fully committing to their final placement. Once satisfied with the placement, I would use the parchment paper barrier and a good amount of pressure with the iron to fully adhere the HTV to the pad, glove or blocker. Where this wasn’t easy or possible, I would use the pointed nose of the iron to adhere the HTV. Overall, I used all manner of methods to do the job. As I was going along, realized that both Cordura and JenPro are incredibly tolerant of heat, although I was still careful with both temperature and time. Should you choose to do this yourself, I am certain you will discover all of the little quirks and tricks that I have. This is not rocket surgery.
Pictures
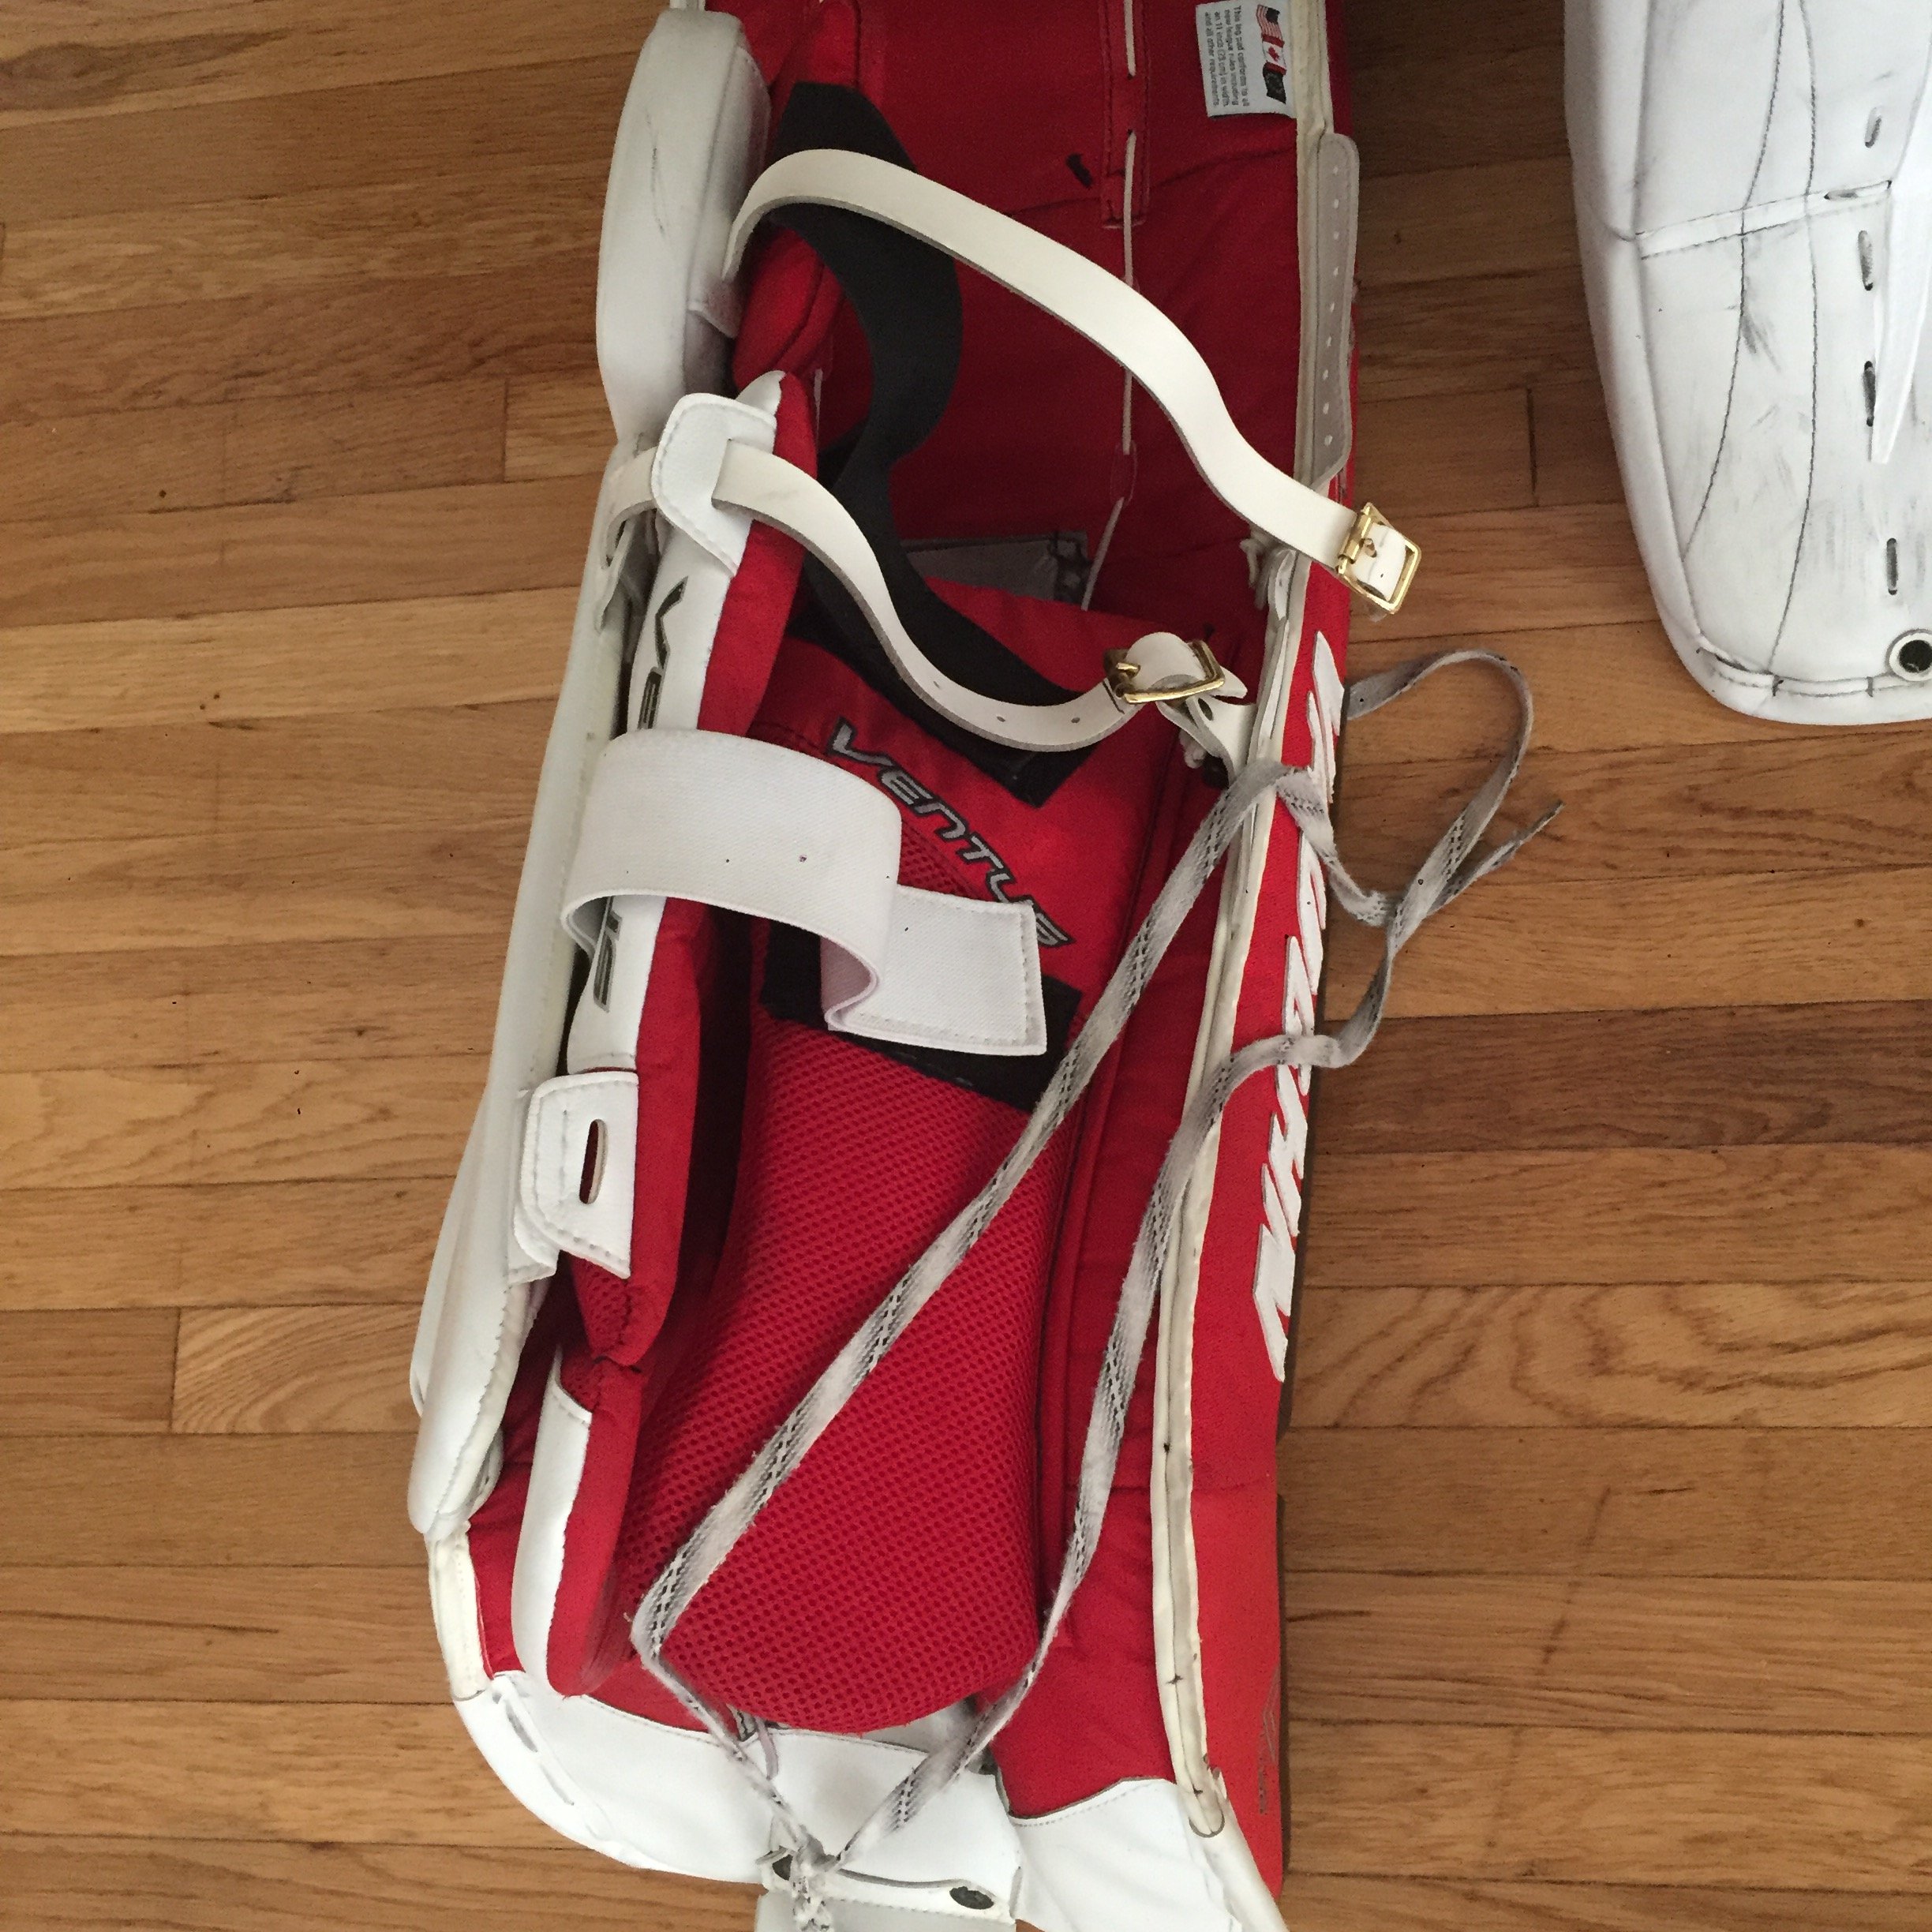
Actual pads, when new, before: After:


Gratuitous strapping photo:


Gloves and blockers before:


Gloves after:


Conclusion
Emotions
One man’s garbage?... Perhaps, but maybe I’m offering this to folks that simply want a way to feel better about their gear. I know I do, and I typically put little stock into matching and all of that. I’m not knocking matching gear at all, - it certainly looks more professional and congruent - but if I didn’t match a team jersey, or my glove and blocker and pads didn’t match, I didn’t much care. There is, however, no doubting that some level of symmetry feels good, feels settled. One of the teams I play for is black, white and red, so there’s that. Also, I’m a Blackhawks fan and have been since Pang and Cloutier were (unfortunately?) between the pipes.
Practical
The Lows
-
This took me weeks and weeks to complete, which is to say probably close to 16 hours total. It’s no joke. Patience is key if you want to accomplish this with some basic level of detail. To put this into perspective: I demo’d, repaired and tiled a laundry room and a kitchen in less time than I took to do this project, and that was also something that I never have done prior AND I was fastidious in both method and detail. My priorities are clearly wacky.
-
This is fairly permanent unless you want to take the same amount of time to remove the HTV. I don’t and I don’t care if it has rendered this gear worthless on the used gear market. This is likely my last set of anything as it’s becoming obvious with each passing season that my body is breaking down beyond simple self-care and repair.
-
I have no idea how long it will last or how durable the material in this application, although it is very durable when being handled. I have played twice with the completed pads and they held up well. The second skate was moving at a pretty good pace with some solid shooters, and there is zero wear in areas with HTV. The few puck marks on the HTV look the same as those on the the JenPro
-
The colors are not perfect matches, but I feel like that with get a bit better over time with grunge and puck marks
The Highs
-
If you will it, Dude, it is no dream - This ended up far better than I expected
-
HTV is cheap and easy to work with
-
In my opinion, this product looks far better than any of the adhesive products on the market that are designed to accomplish the same
-
Because HTV is essentially a film, it basically weighs nothing.
Final Thoughts
As likely as it is that I will never be doing this again at this scope, I would recommend this as a cheaper and more detailed alternative to the other products on the market designed to accomplish some of the same goals. I have been thinking about doing this for years, now, and idle time is the perfect time to tackle a time consuming project such as this. I will post an update at some point after I feel there is either significant wear or remarkable durability. In the meantime, flame away.
Did this last? People who have tried vinyls and other stuff that is not padskinz often say the water wears it away and it falls off. Also, what type of tool do you use to heat it up? I’ve seen people use a torch and I’ve seen people get away with hairdryers
-
-
Big save from my game last weekend that got broadcasted
-
 1
1
-
-
8 hours ago, Lucky Pucker said:
They’re cheap because of the inner rolls. I played with inner rolls once, and it was terrible. Outer rolls are the way to go.

Lmao thats a good one
-
1
-
-
These things look barely used and are dirt cheap at this link -> https://www.playitagainsports.com/product/11362-S000117196/used-ccm-axis-1-9-goalie-pads-31-1

-
On 1/17/2020 at 2:33 PM, coopaloop1234 said:
Do you mean a blend of a 580/590? Or do you mean just a 580 or 590?
Vaughn VE8 XP is a 590 clone, 2X is a 60 degree break (same as 590), CCM makes 590 and 580 stock gloves, 2S is a 580 ish feeling glove.
Warrior G4 palm inserts can mimic any break.
Where do I find the ccm 580 stock glove?
-
-
-
CCM Eflex 5
in Pads
Maybe if ccm offered custom graphics they wouldn’t get so much hate for their stock ones cuz nobody would use them
-
1
-
 2
2
-
-
10 hours ago, Quadzilla32 said:
New to me, picked up some step blacksteel brand new for an awesome price.
haven’t been able to find runners


Did you paint your cowlings and holders?
-
18 hours ago, coopaloop1234 said:
When I went from my white based set to my dark based set, I had multiple teammates ask me if I got smaller (less wide) pads. I've had the same guys say that they felt more confident shooting on me as there wasn't any second guessing to where I was and even in their peripheral vision, they could make out my gear better.
12 hours ago, southpawtendy48 said:on the other hand, darker based sets can make the goalie look smaller when they aren't, and pucks also blend in with the black so i can get a few quick whistles
")
There are a lot of different opinions on this subject and the funny thing is that almost every single idea I have heard makes sense
-
1
-
-
For these neckguards is their a padding level difference from junior to senior or is it just a size difference?
-
On 8/12/2020 at 11:06 AM, TheGoalNet said:
shocked you don't believe in a white based set then...
My idea on colored pads is that it makes shooters hesitate because they see what is covered and panic as to where they should shoot. I feel like white pads sort of make the goalie blend in with the net so shooters see the net and are more confident in where they are shooting
-
1
-
-
New twig who dis

Anyone curious about my knob should know that its Demko’s knob. Cut a roll of tape in half and it goes between my middle finger and ring finger.
my blade tape is weird because I asked my teammates to look at my 5 hole when shooting. I tried white and black tape and half and half. They thought this made it look like there was room because the blade looks so small

-
Anyone have the weight of vapor 1x and suprme1s and 2s


Done With Otny
in Masks + Cages + Neck Guards
Posted
Would adhesive really effect the mask that much to the point where it ruins the integrity and it breaks like this?